The holidays are coming soon; you may have been wondering how to include your furry best friend in your holiday celebrations. One way to do this is to send a holiday card with your dog’s photo on it. If you can send a card that makes people smile and adds a bright spot to their day, that’s a gift in itself!
Do-it-yourself photos of your dog can be daunting because they are yet another thing on your growing list of holiday to-dos. However, with a little bit of planning, you can make your dog photos look like they were taken by a professional, even if you’re taking the pictures yourself.
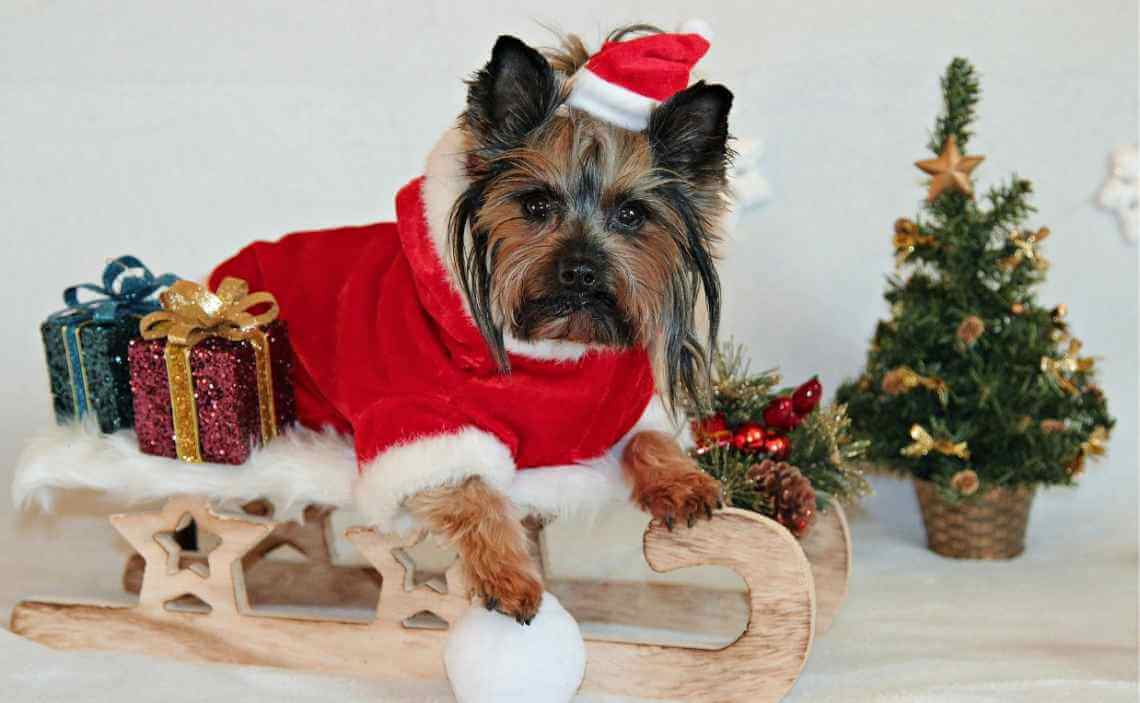
Here are 15 tips you can use to get adorable results from your dog photography efforts.
-
Use a fast lens
Dogs are active and not prone to sitting around waiting for you to get the right shot. If you use a fast lens and shutter speed you are more likely to get the picture you’re hoping for. Some photographers recommend a 70-200mm f2.8 telephoto lens. Prime lenses also work well – 50mm or 87mm are ideal.
-
Create a Bokeh effect
The Bokeh effect is creating a soft, out-of-focus background which helps center the viewer’s eyes on the subject, making the background truly look like a background. Some Bokeh effects use “bubbles” that appear like small orbs of bright light in the background. This is achieved by using a fast lens at the widest aperture, such as f2.8 or wider. On mobile phones with a single-lens camera you can get this effect by using photo editing apps such as AfterFocus (iOS | Android) or search for a Bokeh Simulator in your app store.
Other tips for creating a Bokeh effect include:
- Position your dog far away from the background
- Use a telephoto lens to enlarge and blur the background
- Move closer to your dog when shooting
-
Use a faster shutter speed
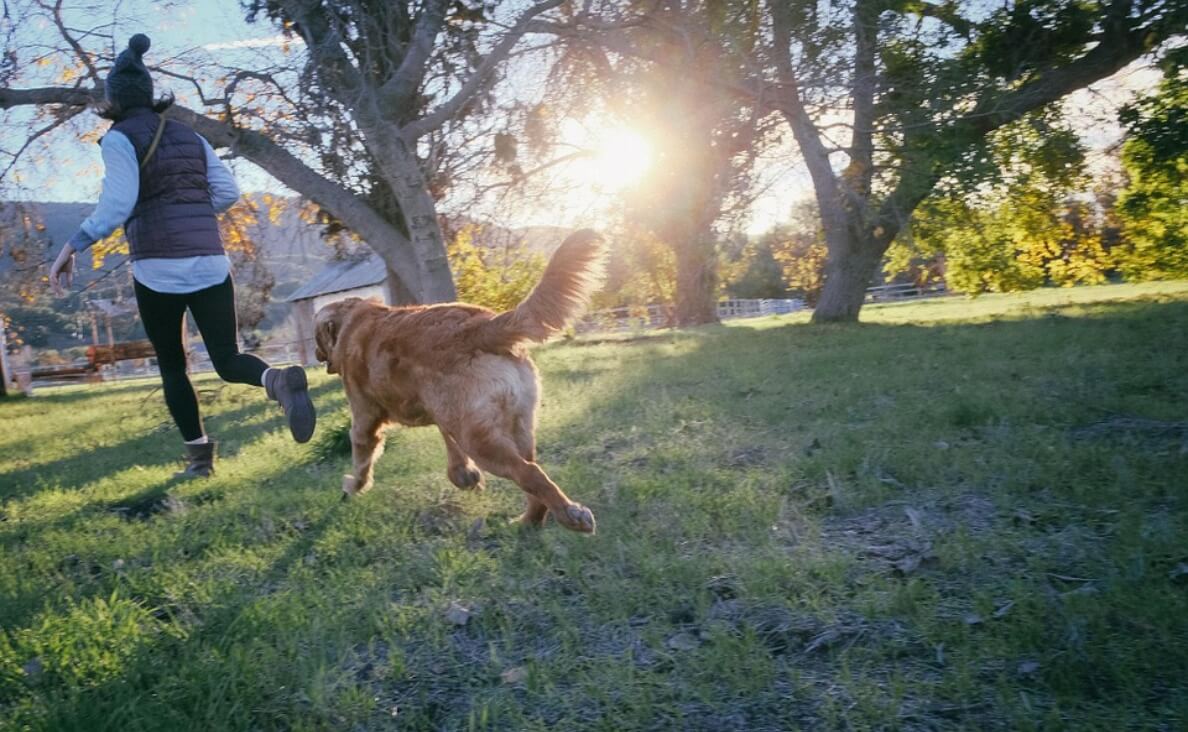
Dogs are active so if you want to avoid motion blur in your photo, use a fast shutter speed such as 1/400th of a second. If you’re trying for photo while your dog is moving, try using shutter priority mode and take a few shots with even faster shutter speeds.
-
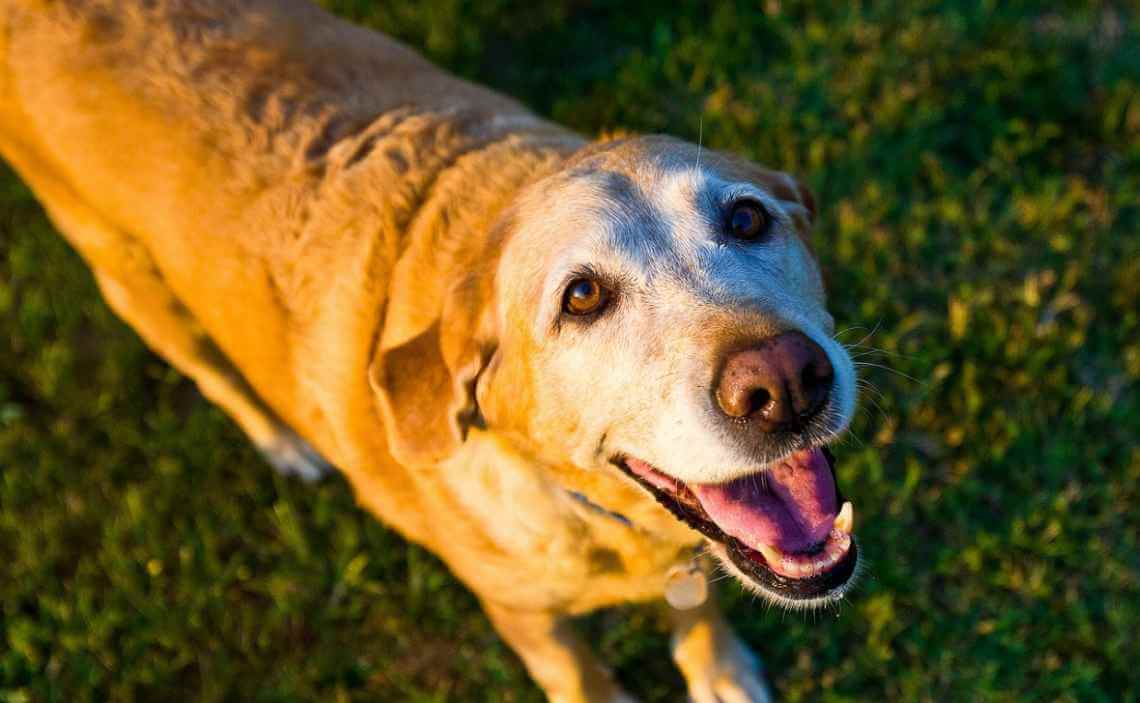
Use good lighting
Good photography is all about lighting, and this includes dog photography.
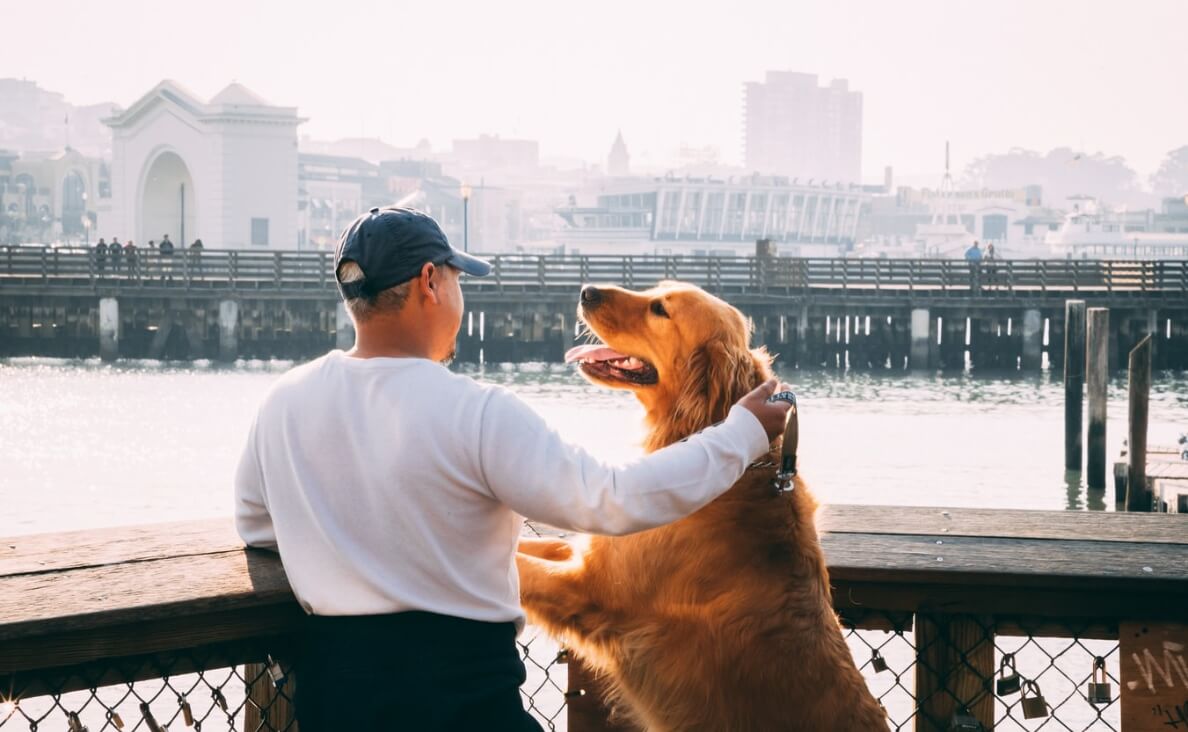
If you’re looking for a golden hue in your photos, schedule your photo shoot during sunrise or sunset. If that’s not possible, consider shooting on an overcast day because this provides even lighting.
If you have to shoot in broad daylight, try shooting in the shade. Then, play with shadows to get unique effects.
If you are doing indoor photography, shoot near a window so the light coming in illuminates the dog.
-
Focus on your dog’s eyes
Your dog’s eyes should be the focal point of your photo. Humans instinctively seek to make eye contact so making your dog’s eyes the focus will draw your viewers attention naturally.
-
Use a great background
The background you choose will serve as a frame around your subject. Look for a contrasting background to help the subject of your photo stand out. Doorways, gates, benches, brickwork and logs all make good backdrops for dog photography.
-
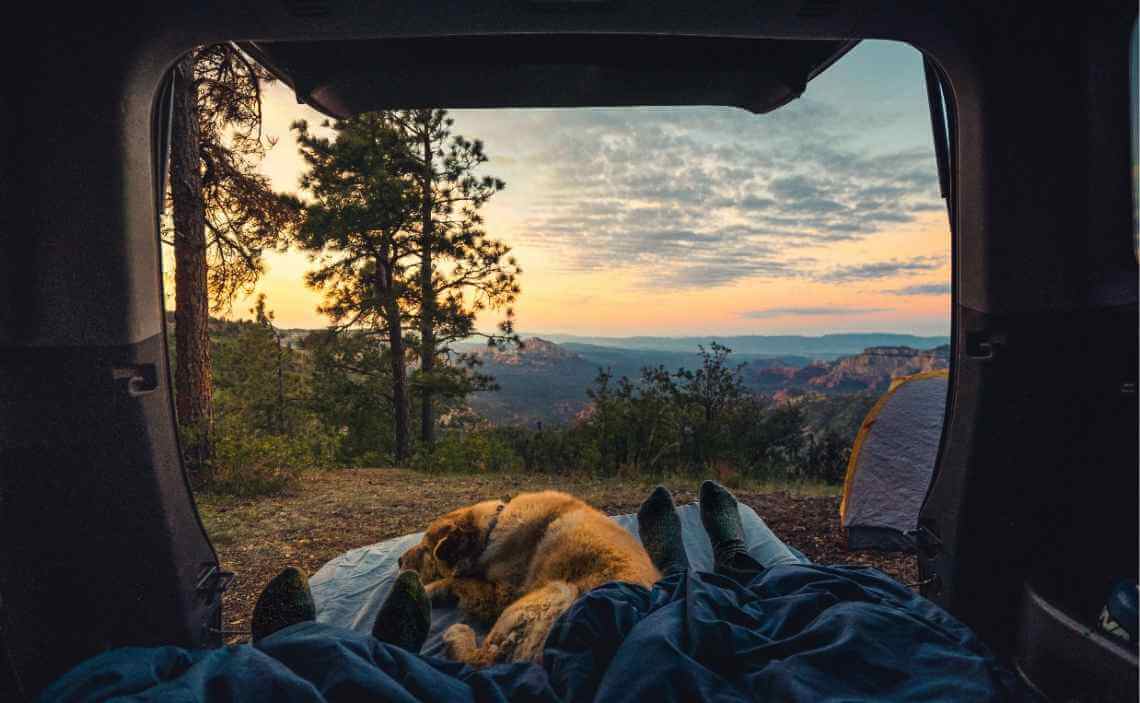
Frame your dog for better composition
Look for items to create a frame around your subject. Tree branches, windows, archways, hills, fences or other natural surroundings to create a border or partial border around your dog. This will cause your viewer’s eyes to be drawn to the subject of your photo.
-
Groom your dog before the photo shoot
Make sure your dog is groomed before you take pictures, especially if your dog is long-haired. Keep a brush on hand, should further grooming be needed.
-
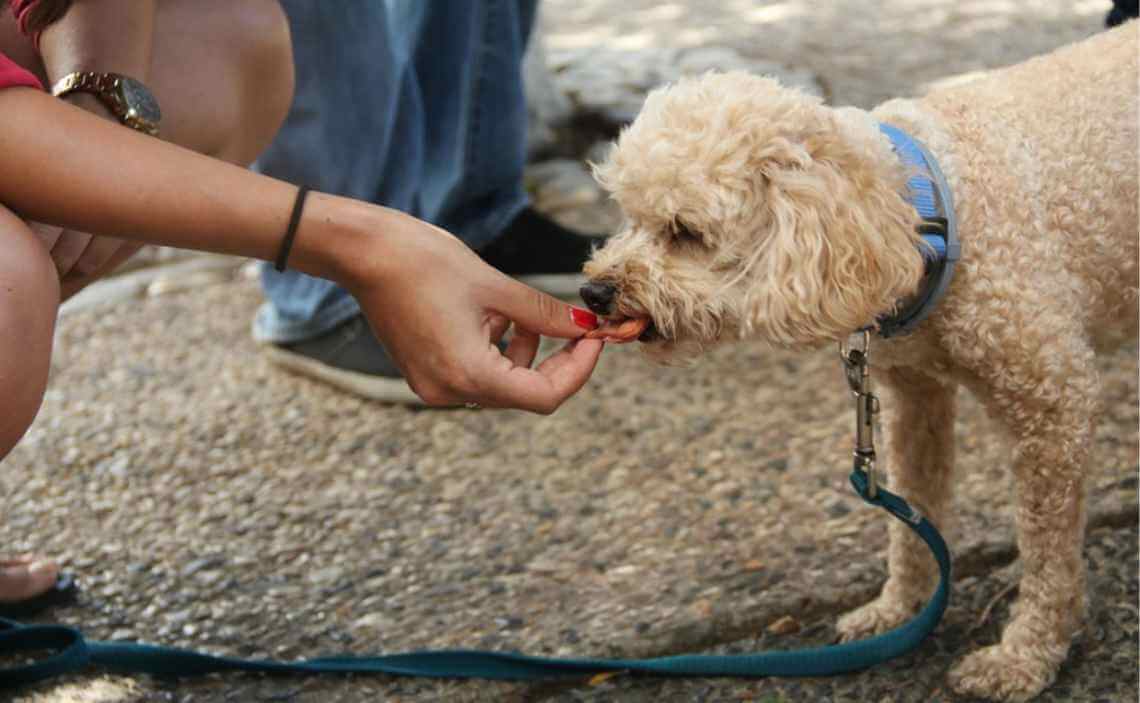
Tempt with treats
Dogs love treats – lots of treats! So use their natural love from treats to get your dog to:
- Stay in one place
- Look at the camera
- Look off to the side of the camera
- Tilt his or her head
-
Prepare to get dirty
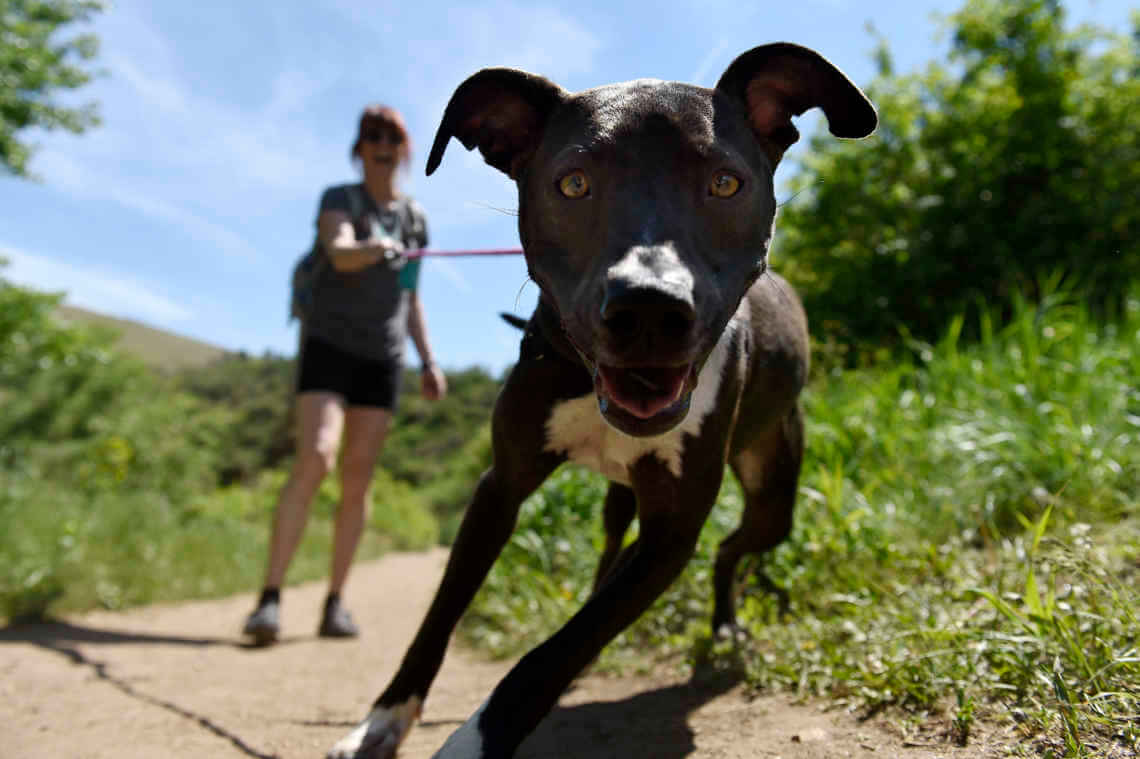
You will need to get down to eye level with your dog to get the best shot, so be prepared to get low to the ground. You may need to kneel down or even lay on the floor. If you are shooting outside, this may mean getting down in the mud or dirty, so make sure you are wearing clothes you don’t mind getting dirty.
-
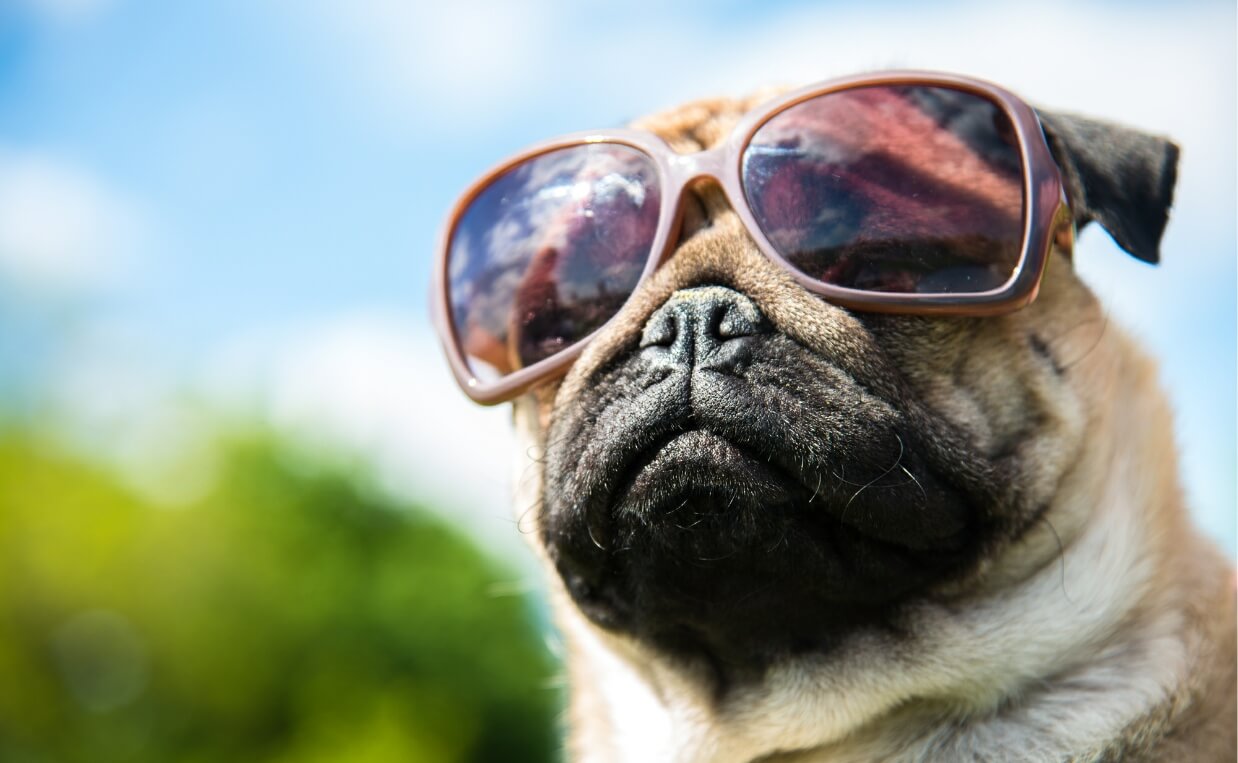
Use props
Who doesn’t love an adorable picture with a dog wearing a hat or other clothing item?
When it comes to dog photography, there are many options for props. Here are some ideas:
- Bright or patterned bowties
- Hats,
- Scarves
- Scarves
- Sunglasses
- Coats
- Jumpers
- Bandanas
A word of caution: Never force an animal to wear something they don’t like. Not all dogs like being dressed up. If you try an outfit and your dog doesn’t like it, move on. Never force your dog to do something he or she doesn’t want to do.
-
Be ready for action shots
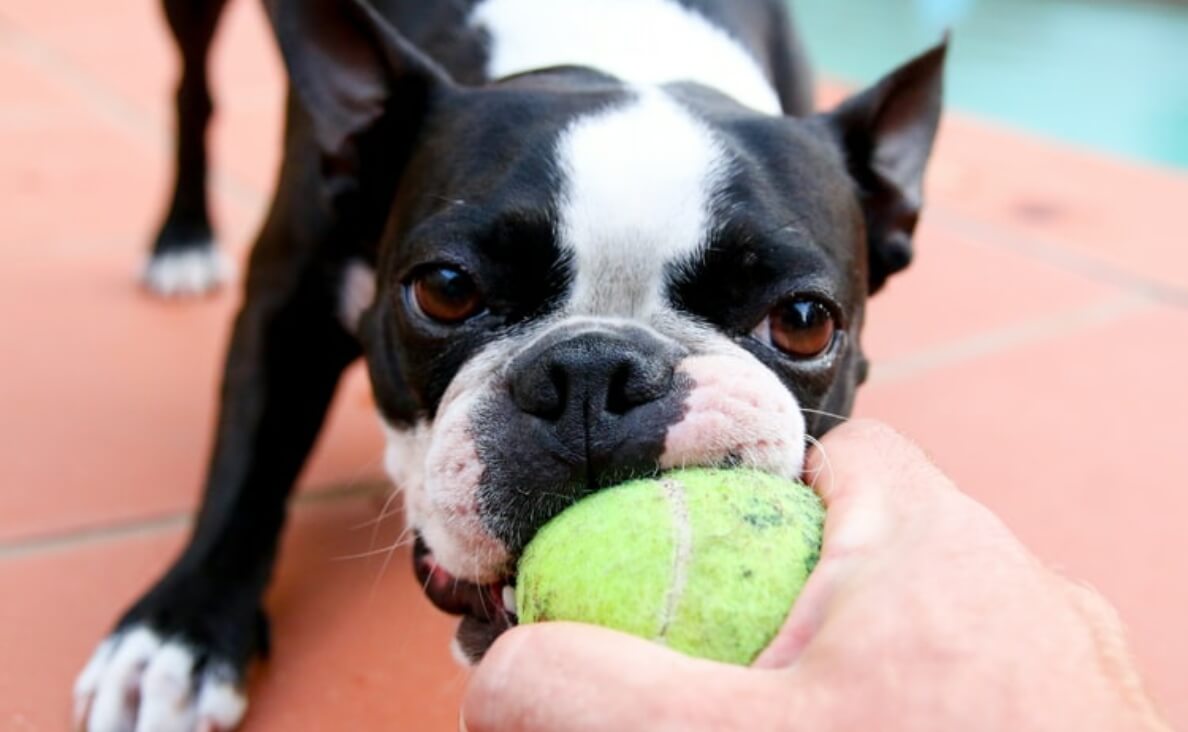
Toys are often the key to good action shots. Sometimes a simple tennis ball is all you need. Leave these shots to the end of your photo shoot. Set your speed to around 1/1000 or more to freeze the action.
Have someone help you by throwing the ball or other toy either towards you (to get a shot of the dog running toward you) or away from you so you can get a shot of the dog bringing the ball back to you.
-
Consider your dog’s breed
Understand your dog’s behavior as it relates to his or her breed so you know the best way to handle your dog. For example, a Golden Retriever will be quieter and more reserved while other dogs, such as Spaniels, are bred for hunting will be full of energy and won’t want to sit for the photo shoot.
-
Think about safety
Keep your dog safe by planning your location. Make sure you don’t shoot near a busy road, for example. Choose a location for your photo shoot that will be safe for your dog.
-
Make it fun
Make your time shooting photos with your dog fun. Take your time, be relaxed and try to have a good time right along with your dog. If it seems like your dog is stressed or distracted, pause the session.
Patience is key when it comes to dog photography. You will need plenty of patience. Allowing enough time can help, as can engaging with your dog in play.
Good dog photography requires lots of practice, but it can be a lot of fun and a genuinely rewarding experience.
Need a place to store your photos? Try the Google Photos app. It’s a great way to organize and share your photos and videos.
What dog photography tips have worked for you? Please share with the rest of the Canine Campus community.

 New Google Photo App Pet Feature Adds Fun for Dog Lovers
 10 Ways to Celebrate Christmas with Your Dog


Leave a Reply